
When installing solar PV connectors, you can follow these detailed steps
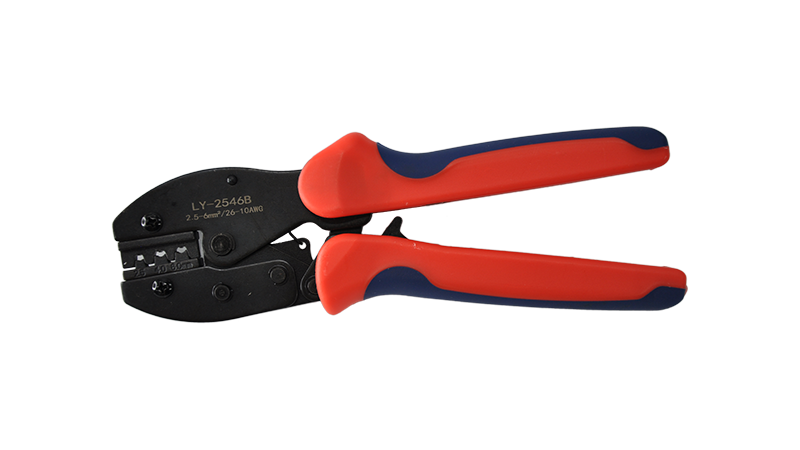
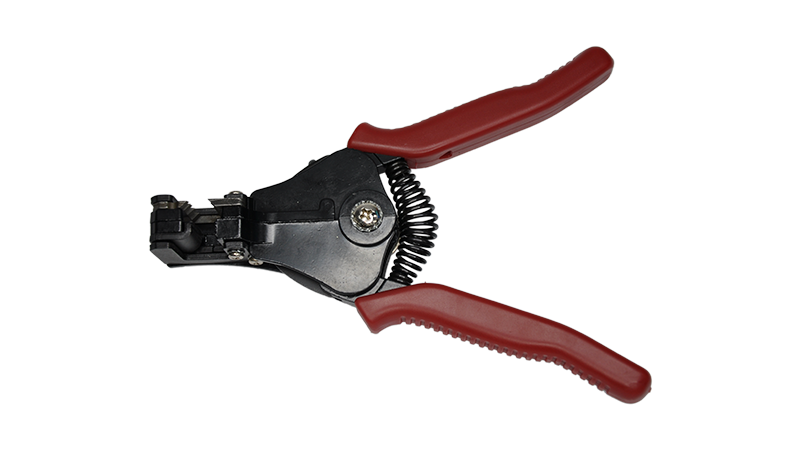

1.Prepare tools and materials: Make sure you have the following tools and materials: wire strippers, crimmings, screwdrivers, insulation tape, or heat shrink casing.
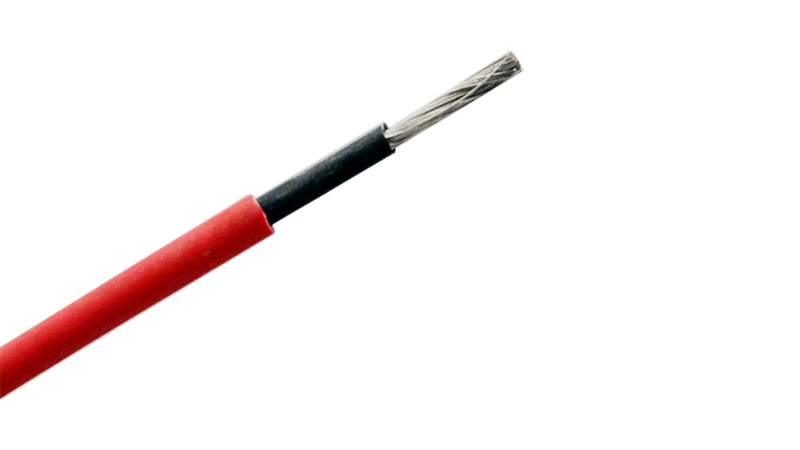
2.Stripping the cable: Use wire strippers to carefully peel off the outer insulation at both ends of the cable, revealing the inner wires. Make sure the length of the peel meets the requirements of the connector.
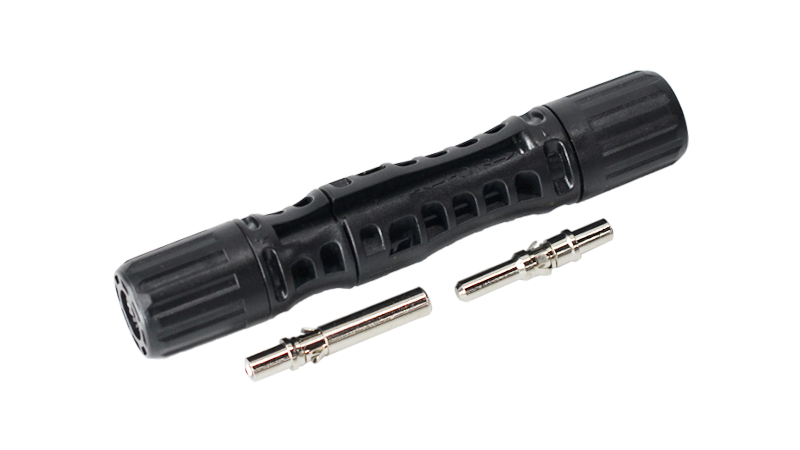
3.Prepare the connector: Depending on the connector type, disassemble or open the connector housing to prepare the cable for insertion. Make sure the connector is clean and free of impurities or damage.
4.Insert wire: Insert the bare wire of the cable into the corresponding slot or clamp in the connector. Insert the wires in the correct position according to the connector design and make sure that the wires are fully inserted with no exposed parts.
5.Crimp connectors: Use crimp pliers or similar tools to crimp connectors according to their design. Ensure good electrical contact and tightness between connectors and wires. Depending on the connector model, specific crimping may be required.
6.Check the connection: Check that the connector is strong and electrical contact is good. Make sure there are no loose or exposed wires and no short circuits or poor contacts. Gently pull the connectors and wires to make sure they are securely attached.
7.Insulation protection: Use insulation tape or heat shrink sleeve and other materials to protect the connection part. Cover the connection sections with insulating material and ensure insulation between the wires and connectors to prevent electrical short circuits and environmental damage.
8.Repeat steps: If more than one wire or connector needs to be connected, repeat the steps until all connections are made.
9.Check and test: After completing the connection, check each connector carefully. Verify the electrical performance of the connection using test instruments to ensure the quality and stability of the connection.
Note that these steps provide general installation guidance, and the specific steps may vary depending on the connector model and manufacturer. Be sure to read the connector's installation manual and follow the specific instructions provided by the manufacturer before proceeding with the installation.
Welcome to consult us.
 telephone
 Contact US