
Photovoltaic solar connector installation steps: The key elements to achieve reliable power transmission
Photovoltaic solar connectors are crucial components in solar systems, playing a key role in connecting solar panels and inverters. The correct installation of photovoltaic solar connectors is an important step to ensure efficient and stable operation of the system. So, let's understand the installation steps of photovoltaic solar connectors together!

Preparation work:
Before starting the installation, make sure you have the following tools and materials:
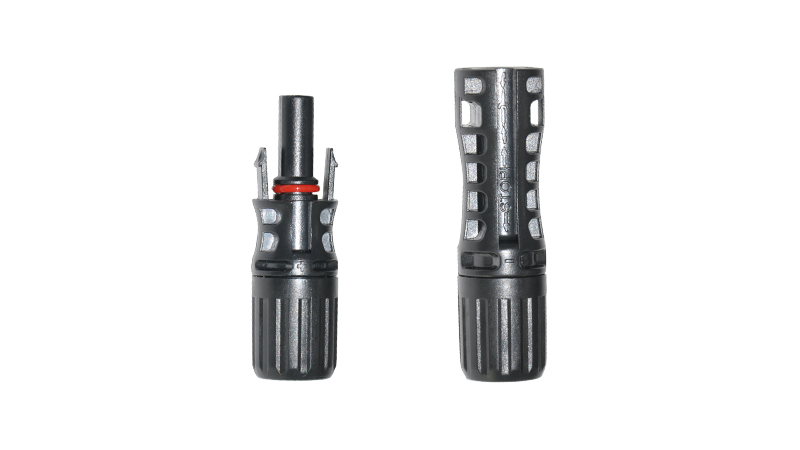
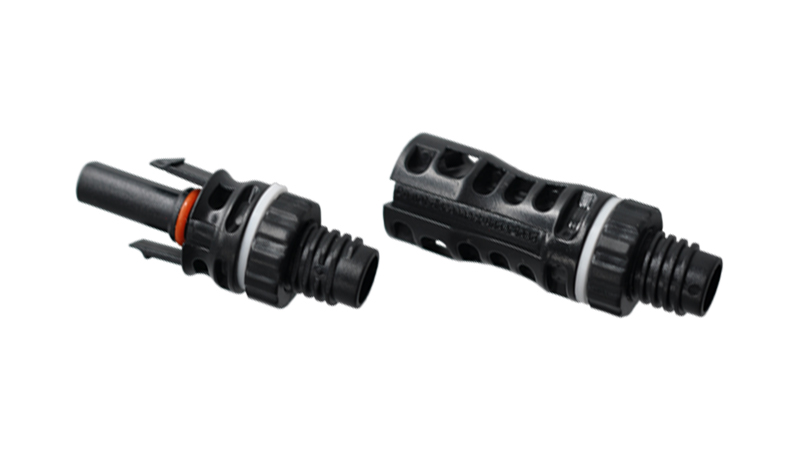
Photovoltaic solar connector
Cable stripping tool
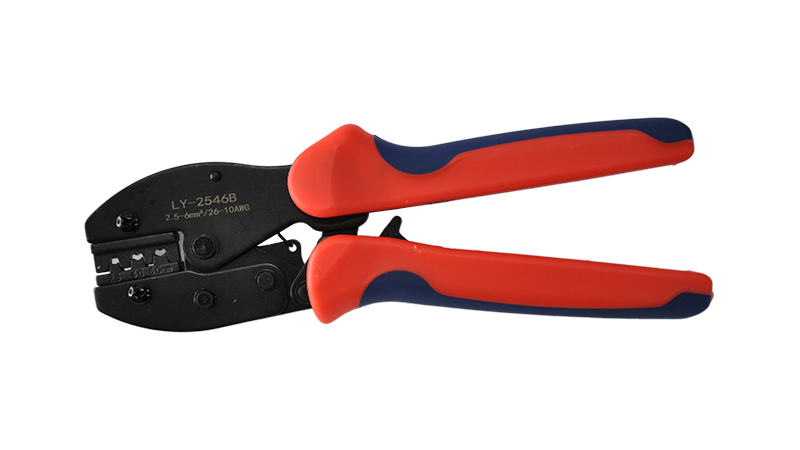
Crimping pliers
Insulating tape
Cleaning cloth or alcohol cotton ball
Safety gloves and eye protection (to ensure safety)
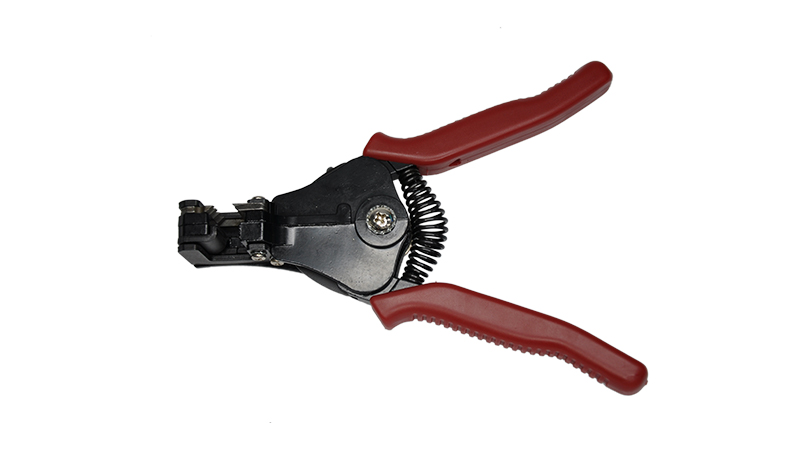

Peel off the cable skin:
First, use the cable stripping tool to peel off the outer skin of the solar cable to an appropriate length, generally a few centimeters. Make sure the strip is long enough to fit into the photovoltaic solar connector.
Preparations for cable connection:
After peeling off the outer cover of the cable, you can see the wires inside the cable. According to the design of the connector, there is usually a positive and negative electrode identification. Ensure that positive and negative wires are correctly identified and distinguished.
Connecting wire:
Depending on the connector design, use a crimping clamp to insert the cable's lead into the connector's terminal hole. Make sure the wire is fully inserted and press it firmly with crimping pliers. This step is critical to ensure good contact between the wire and the connector for reliable power transfer.
Insulation protection:
After connecting the wires, use insulation tape to protect the connected parts. Wrap the insulation tape around the connecting part to ensure that the exposed part of the wire is fully covered to prevent power leakage and short circuit and other safety hazards.
Cleaning and finishing:
After installation, use a cleaning cloth or alcohol cotton ball to clean the connector and surrounding area to ensure that it is free of dust and contaminants. This helps keep the connector in good working condition and extends its service life.
Testing and acceptance:
After the installation is complete, the necessary testing and acceptance work is carried out. Check the electrical performance and stability of connectors with appropriate test instruments and methods. Ensure that connectors and the entire system are working properly and that power is transmitted correctly.
The correct installation of photovoltaic solar connectors is an important part of ensuring the efficient operation of solar energy systems. By following the above steps, you can ensure a reliable connection between the connector and the cable, resulting in efficient transfer of electrical energy and safe performance.
It should be noted that the installation of photovoltaic solar connectors requires certain professional knowledge and skills. If you are not sure how to properly install the connector, it is recommended to consult a professional or seek professional help to ensure the quality of the installation and the safety of the system.
Installation steps for photovoltaic solar connectors may vary depending on the connector type and system requirements. Before proceeding with the installation, read the connector installation instructions carefully and follow the instructions provided by the manufacturer.
I hope the above introduction to the installation steps of photovoltaic solar connectors will be helpful to you. Pay attention to safety during the installation and follow the installation guidelines and specifications. If you have any questions about the installation of photovoltaic solar connectors or need further guidance, please do not hesitate to contact us. We will be happy to provide you with further guidance and support. Wish you a successful installation of photovoltaic solar connectors and contribute to sustainable energy!

 telephone
 Contact US